
.png)

Cisco Jabber (IMP) delivers instant messaging, voice and video calls, voice messaging, desktop sharing, whiteboarding, conferencing, and presence. Jabber allows you to Collaborate anywhere, anytime so you can find the right people, see if and how they’re available, thus allowing you to collaborate more effectively within your organisation. Upgrading to Jabber 12 brings many new valuable features. To do this we have to upgrade to IMP 12.
For an extended list of IMP 12.0 features, please click here.
1.
Check if your VMware hardware specification needs changing and modify the appropriate settings in your VMware environment e.g. CPU, RAM and Disk space which can all be done in your VSphere settings. See here.
Note: Changing the OS from RedHat to CentOS is mandatory!
2.
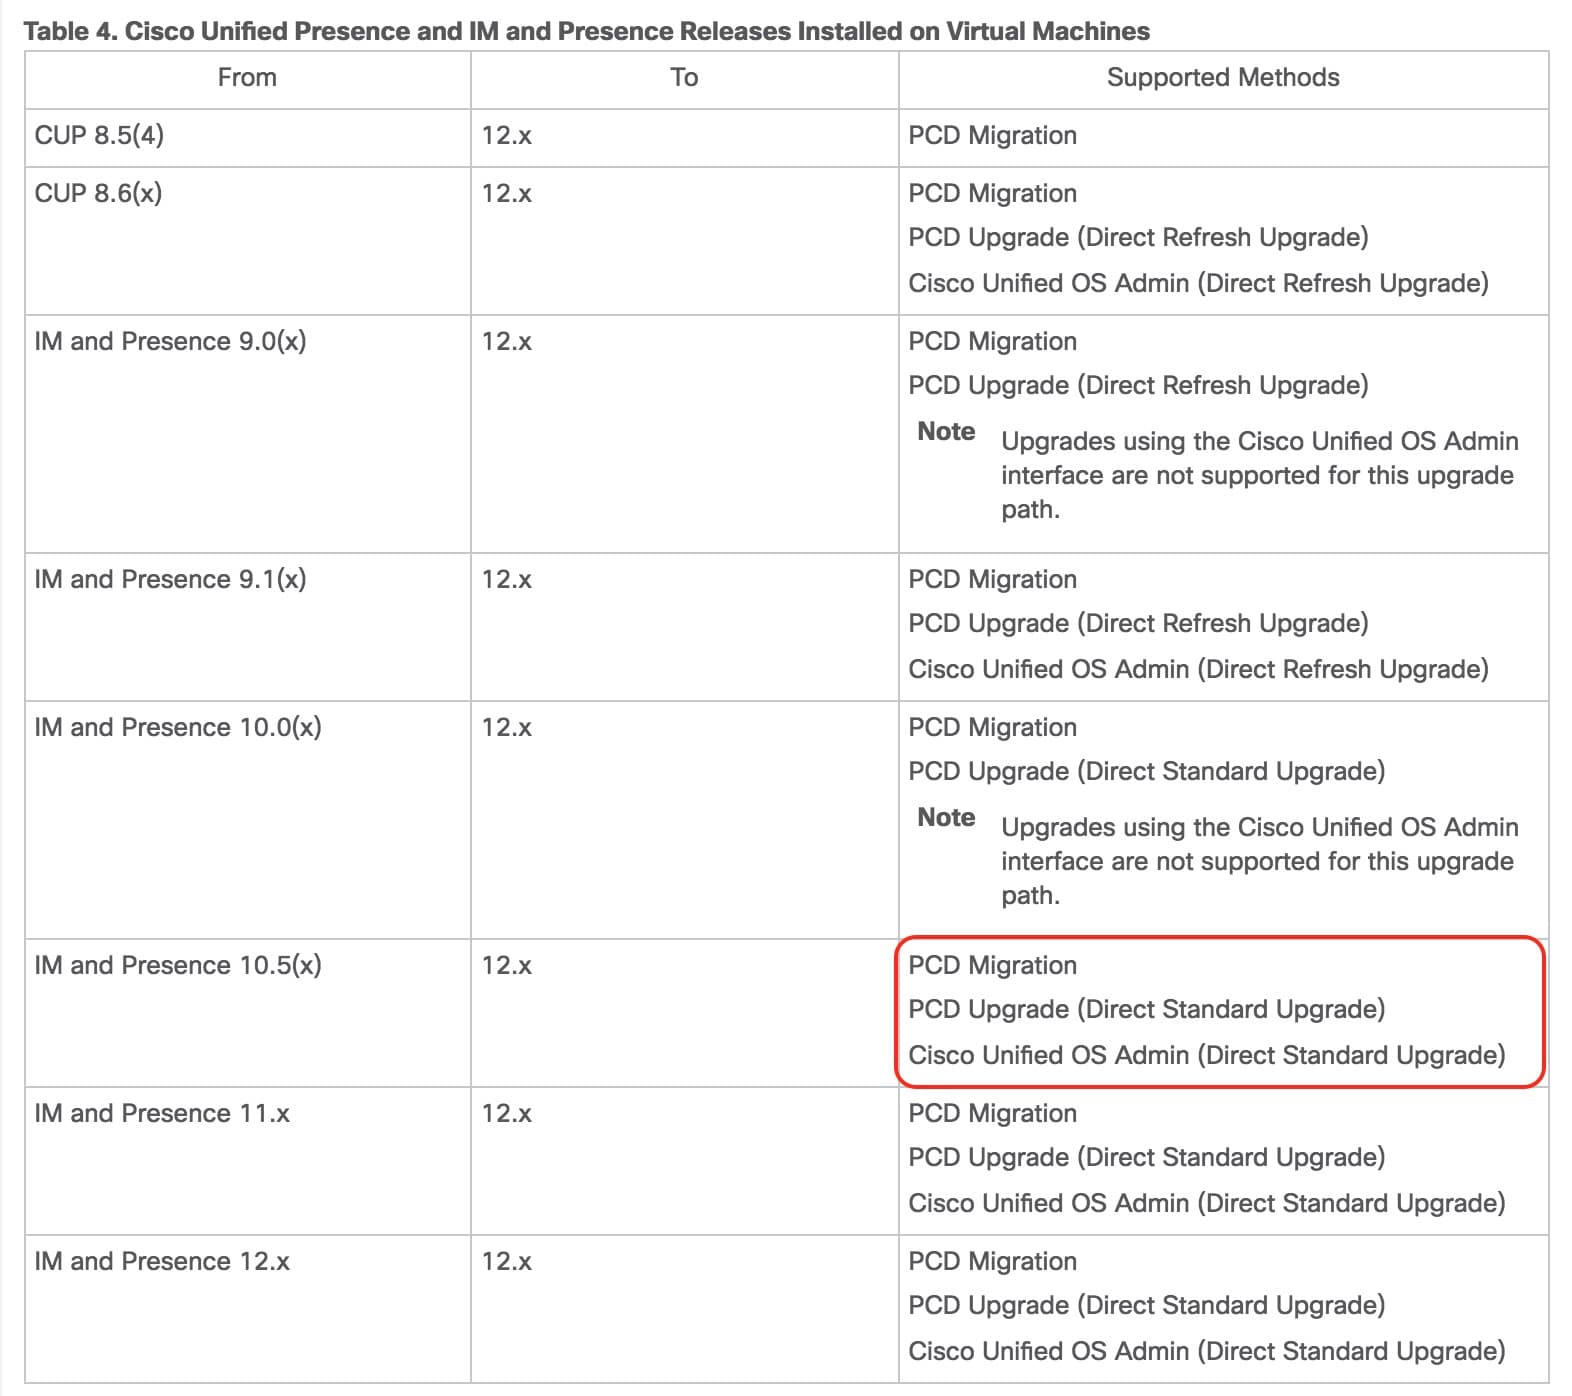
Read this guide in its entirety and understand the caveats based on the IMP server version you will be upgrading from and too, as you may have to perform an intermediary upgrade to support the upgrade. Pay particular attention to the Pre-upgrade and Post-upgrade tasks as these undertakings will be most unique to your environment, for example, you cannot upgrade directly from 10.0 to 12 you need to be on at least 10.5 to support the upgrade or alternatively perform the upgrade using Prime Collaboration. See below table.
Supported upgrade paths
1.
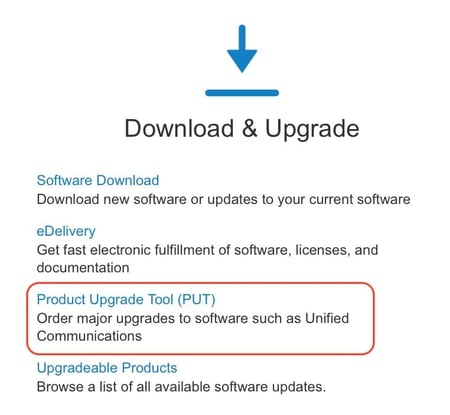
Access Cisco’s PUT (Product Upgrade Tool) and Submit the upgrade software request. What’s really neat about this tool is you can state what version you are upgrading from and to, which makes for significant less reading. See here.
1.
As always you will be starting off with the First IMP Node in your cluster. Note your VMware image will need to be in a powered off state to perform this change because you will be modifying the VMware hardware settings and changing the OS from Redhat to CentOS, so make sure you adhere to your organizations change control policies.
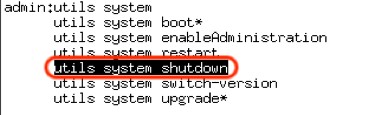
Shutdown your IMP server by accessing it via SSH and enter the command utils system shutdown
2.
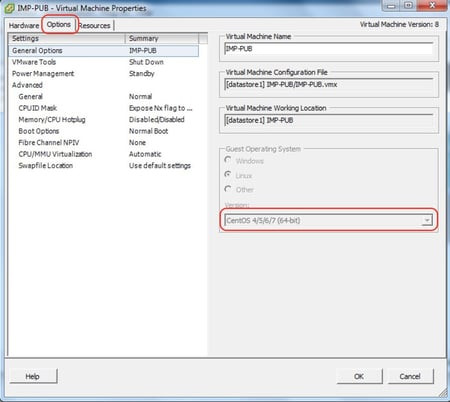
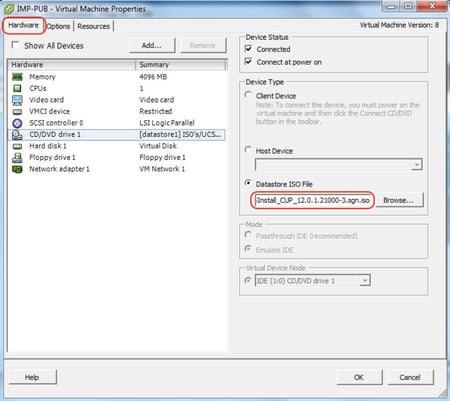
Modify your VMware hardware specification according to the VMware specification mentioned above and change the Guest Operating system from Redhat to CentOS, see below figure.
Select the CentOS in the General Options of your IMP VM Image.
Select the location of the IMP upgrade cop file from your local Data store or use SFTP when your server has booted up. Note SFTP will take significantly longer as its copying the file over the network.
3.
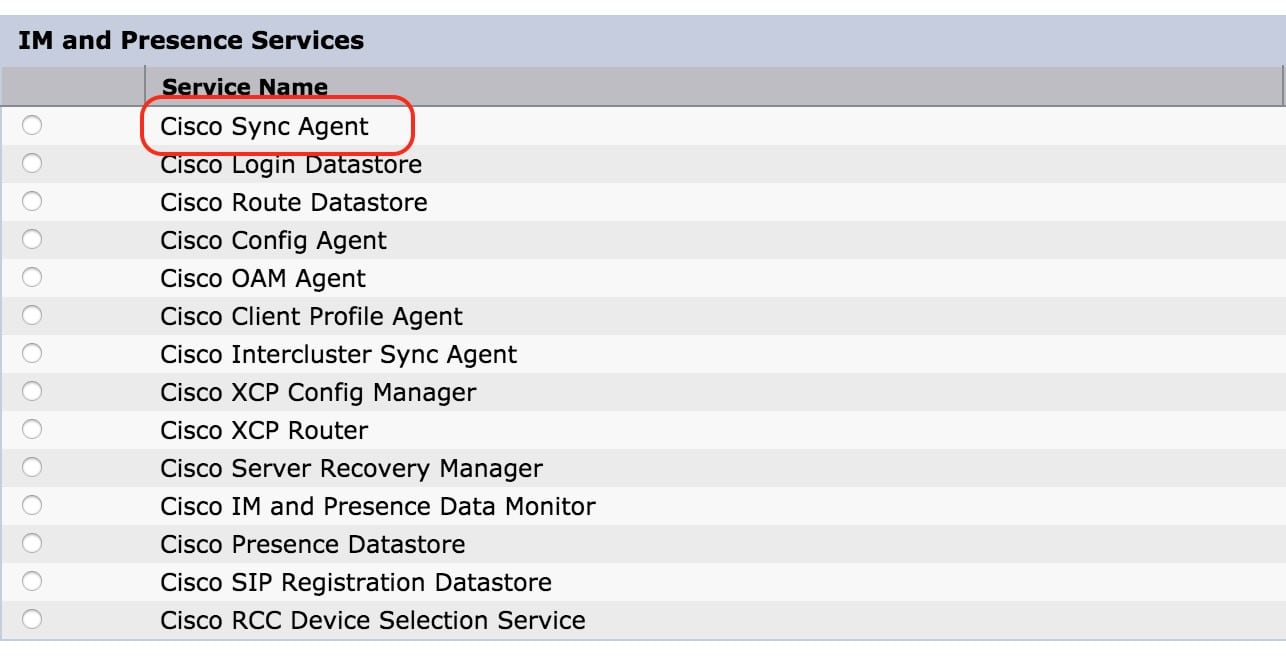
Stop the Cisco Sync Agent service on the IMP Server from Cisco Unified IP Serviceability -> Control Center – Network Services.
Note: Once the server has rebooted after the upgrade, make sure you check the Cisco Sync Agent service has automatically started.
4.
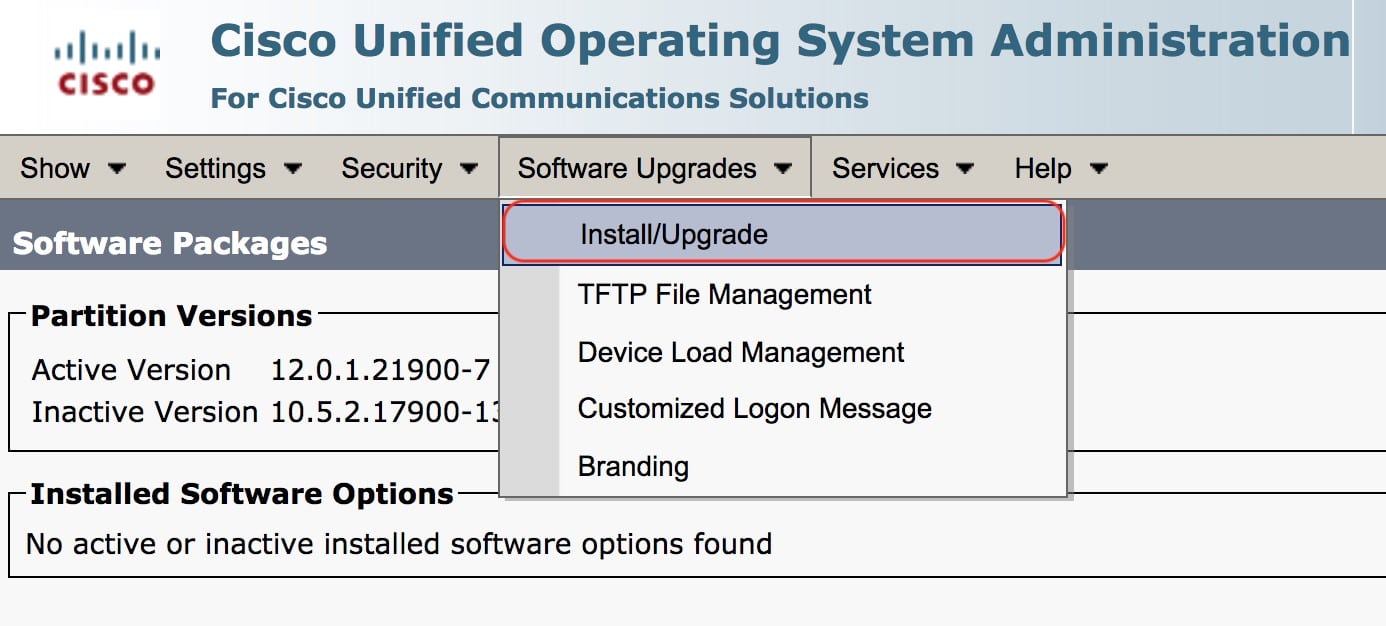
Install the upgrade file from IMP OS Administration -> Install/Upgrade and Select the Source to be either DVD/CD or Remote File System and click next. I selected DVD/CD and put the ISO file in the local Datastore of the IMP VMware image (see below fig). If you select Remote file system you will need to perform the installation using an SFTP server.
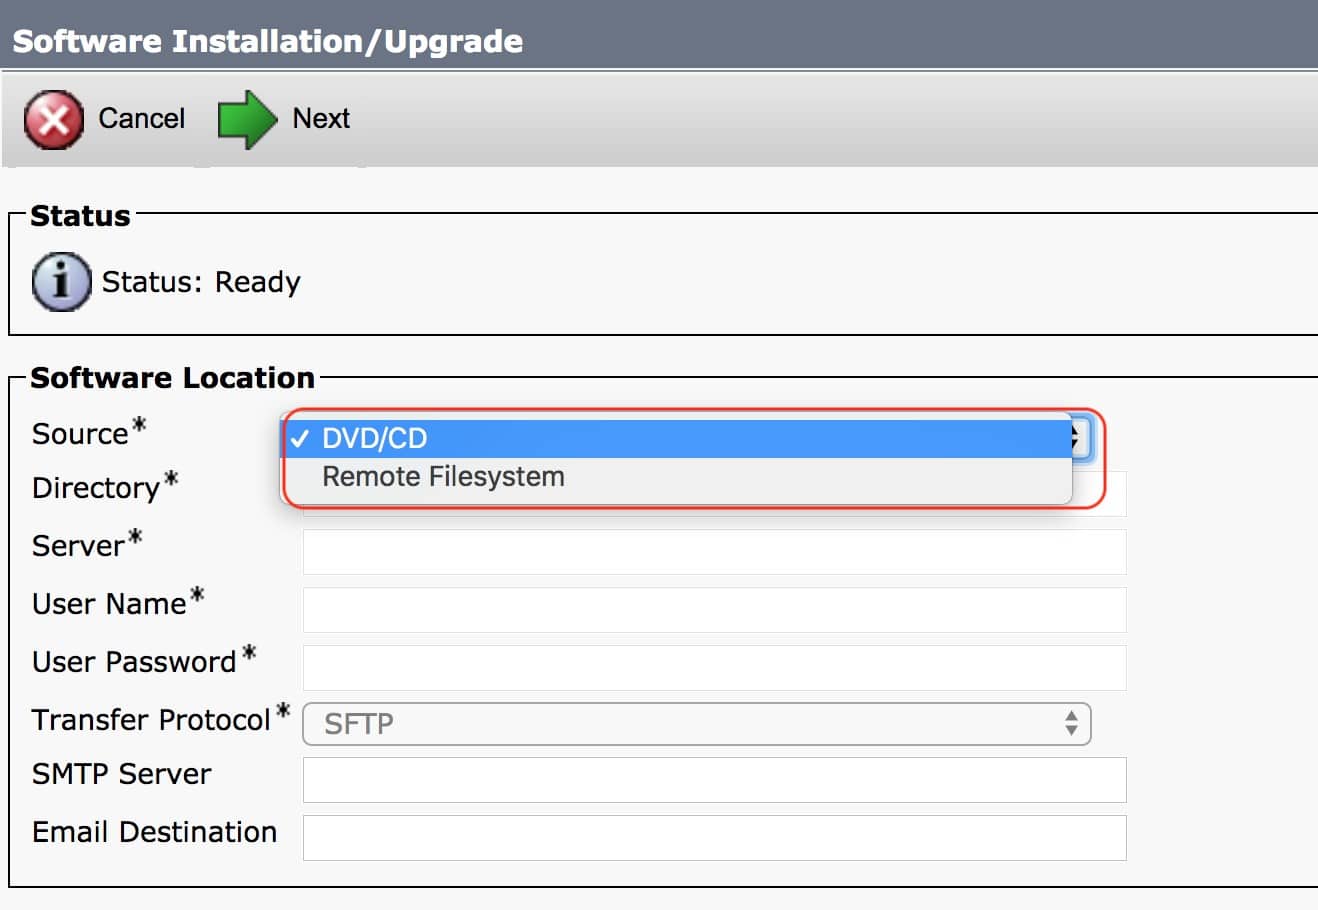
Select the IMP 12.0 upgrade file you placed in your VM’s datastore and select next.
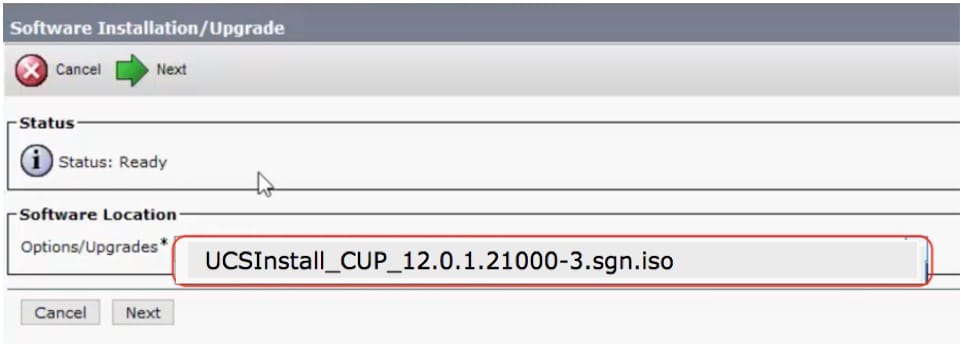
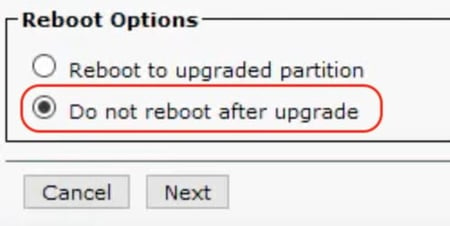
Next, you will be asked if the system should automatically reboot after the installation. Select an option based on your companies change control policy. I typically always select Do not reboot after the upgrade and reboot the Server manually after the installation using SSH and entering the command utils system switch-version.
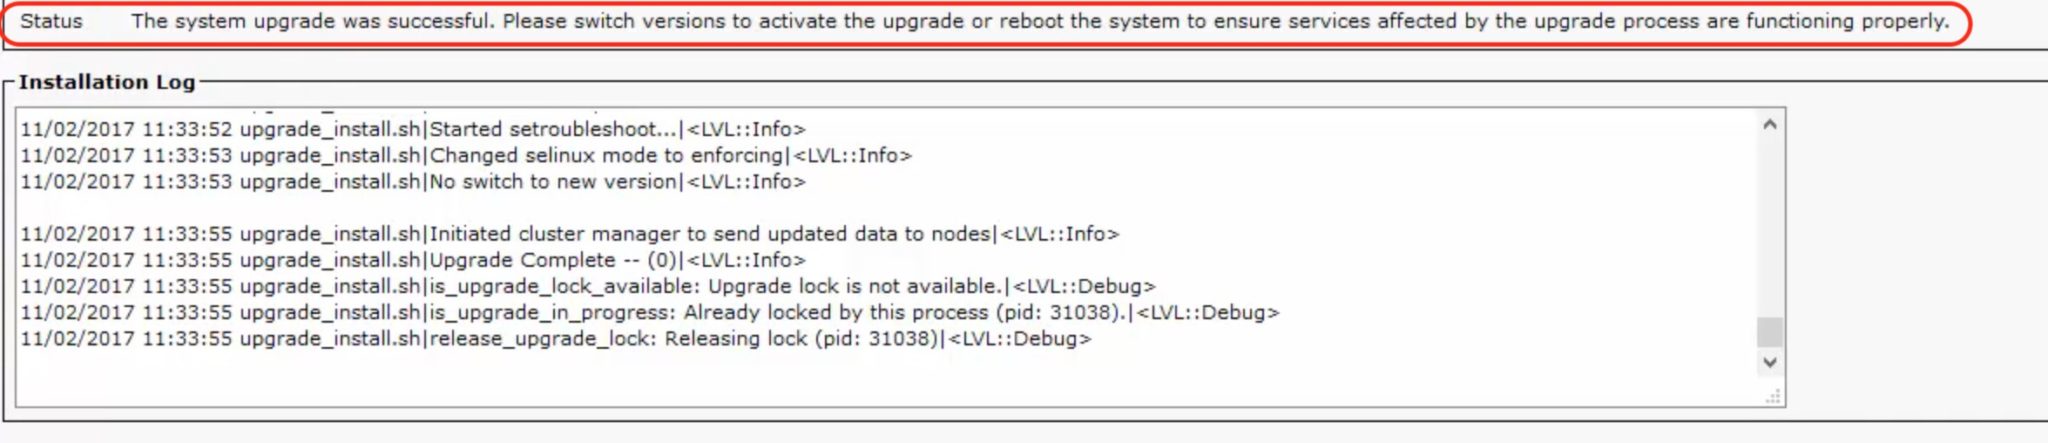
The installation script will now run which can take around two hours depending on your database size. Always periodically check the Installation log below to see if any errors have occurred. Once the installation process has finished. You will receive “The system upgrade was successful” message.
5.
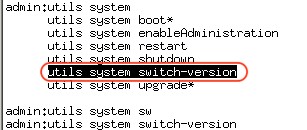
Next you will need to reboot the server and switch the version of IMP using SSH and entering the command utils system switch-version
6.
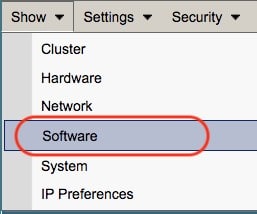
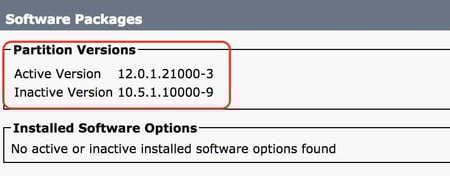
Once the IMP Server is powered back up verify that your server has upgraded to the correct version by accessing IMP OS Administration -> Show -> Software -> Verify the Inactive and Active version should reflect your new software version number.
6.
Next check the replication between all IMP servers – Access Cisco Unified IM and Presence Reporting from the Drop down list below and select IM and Presence Database Status and select generate a report

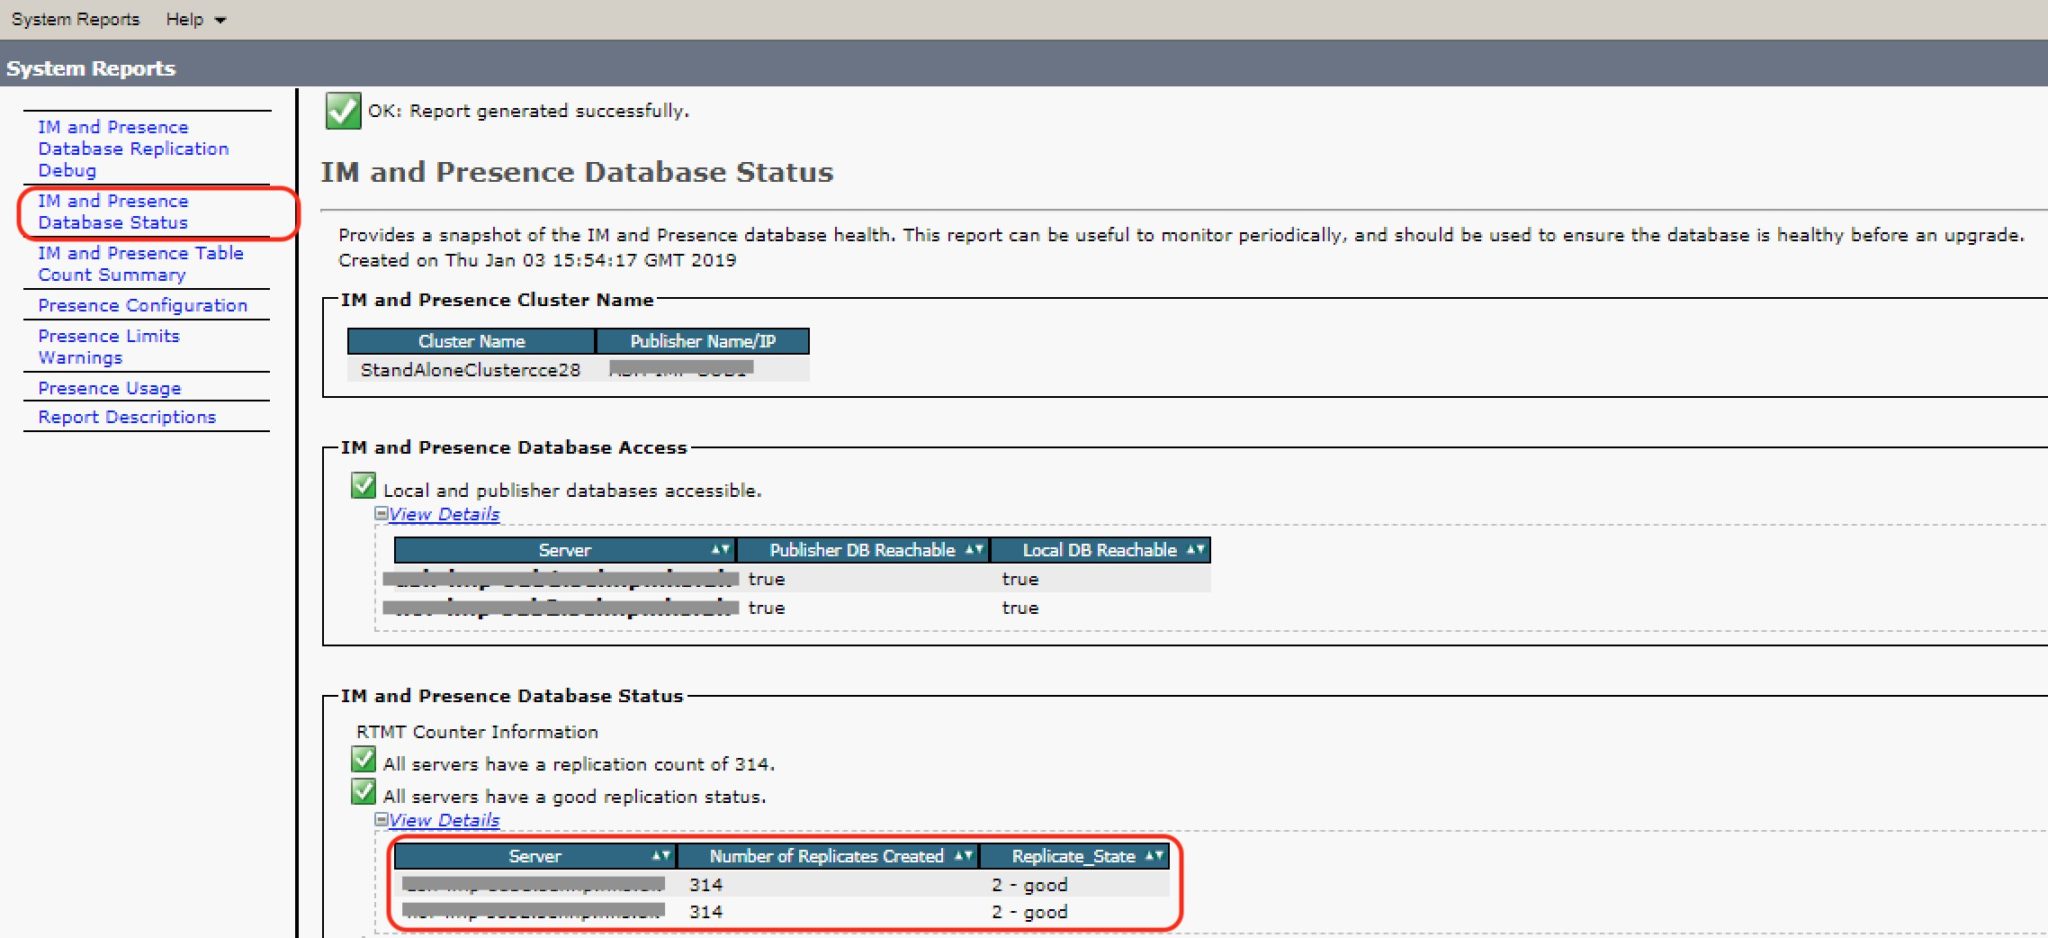
Make sure under the IM and Presence Database Status portion of the report the number of Replicates Created is consistent for both servers i.e. in my case it’s 314.
The IMP 12 upgrade was a lot more involved than CUCM and Unity Connection simply due to the fact that the Jabber client also had to be upgraded to take advantage of all the new features of Jabber 12 so please refer to this link on the best method to install the Jabber Client for your organization; in our case we used group policy.
Another issue that cropped up was the need for two reboots to be performed because the VMware hardware had to be modified in a powered off state to support CentOS.
And lastly, make sure you test the Jabber client logins for several types of devices including mobile tablet devices.
If you have any issues you would like assistance with, feel free to send us a message here.


